Tuesday, November 22, 2011

I'm officially addicted . . .

I'm addicted to making macarons, that is.  I've made a batch almost every night, except for the one day when I made two different fillings.

My pecan macaron shells, upside down and waiting for filling. 
Why are they so much fun to bake?  First, because they're a bit of a challenge.  Not the easiest thing in the world, but not the hardest, either.  It's a skill you can definitely learn.

Second, they taste wonderful.  Truly.  Crunchy, chewy, sweet, but not too sweet--and nutty.  And I love nuts.

Third, they make great gifts and they freeze beautifully (if you use a nice buttercream or ganache frosting). So I've been storing them up for holiday gift trays to give.

Fourth, you can flavor them any way you want--sweet or savory, fruity or nutty or spicy.  So every night you create something that tastes different!

Fifth, you can color them, and a collection of them looks like a pretty jewel box.

The Oatmeal raisin buttercream I chose for the filling. 
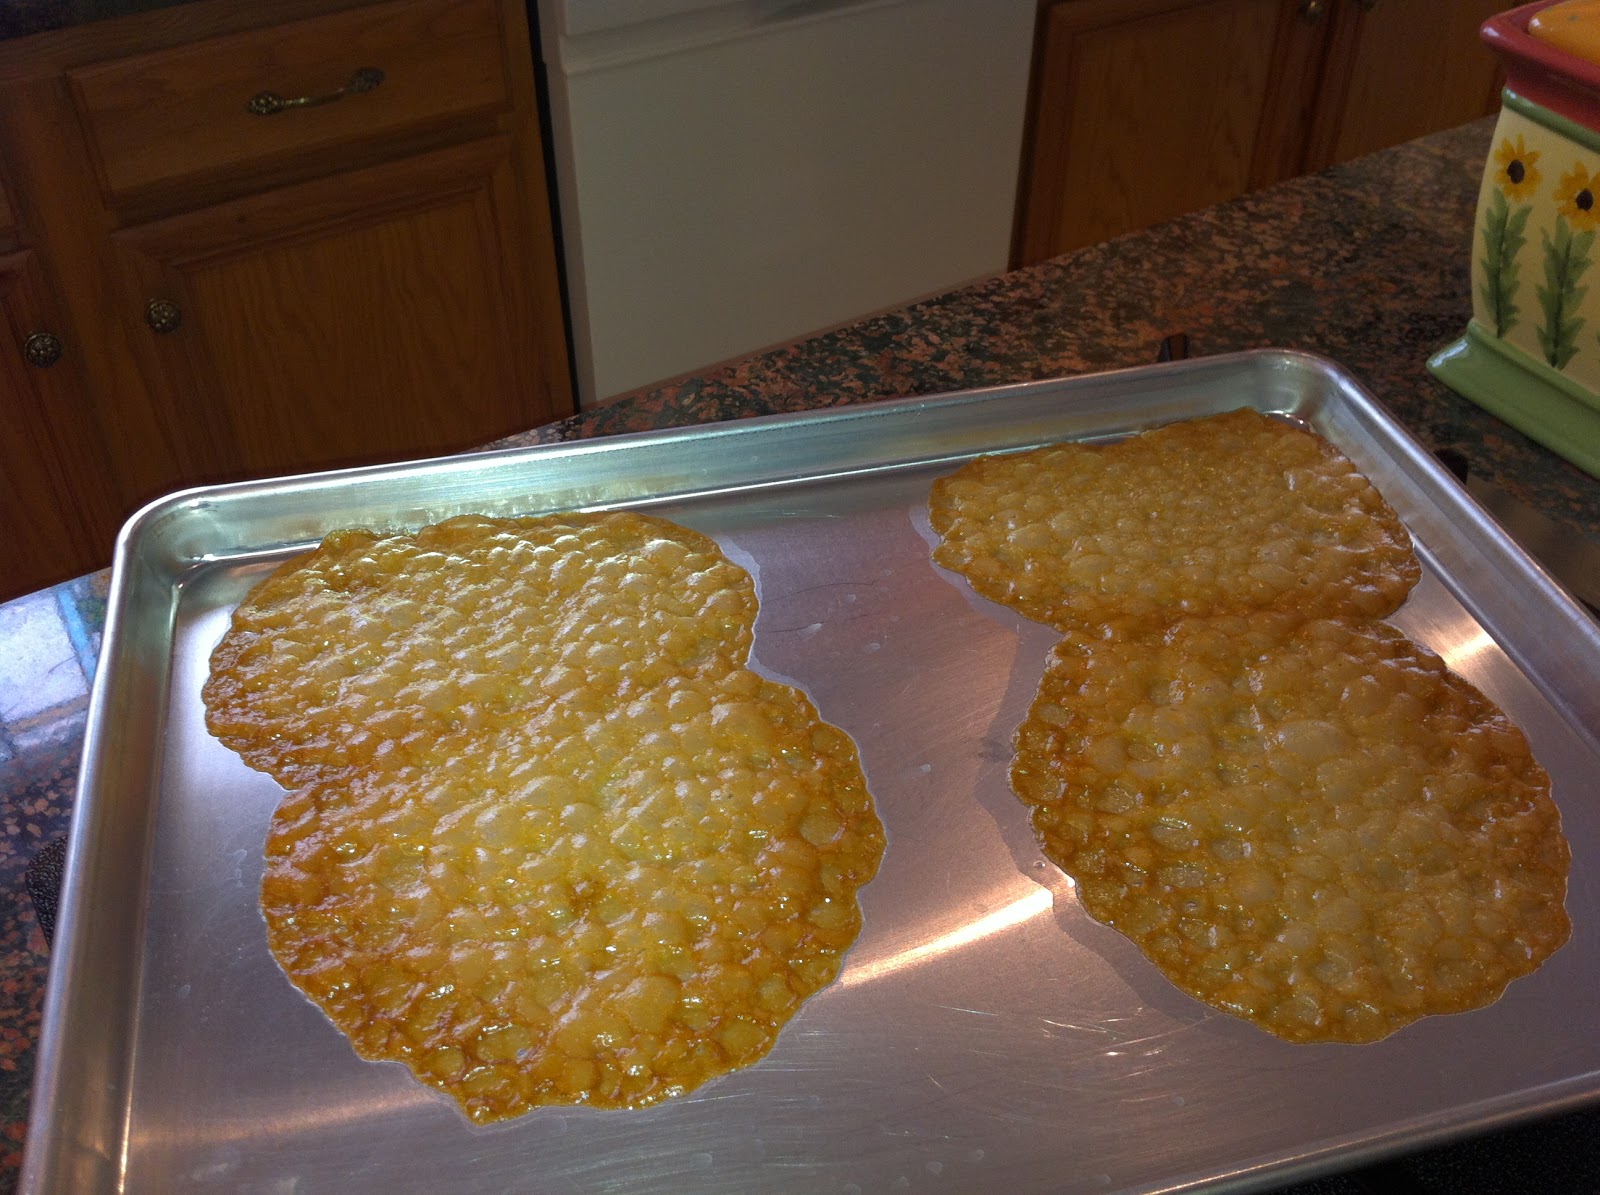
Sixth, you don't have to use almond flour (which can be hard to find--I ordered mine online).  Tonight I ground 1 1/2 cups of pecans in my food processor and made a batch out of pecan flour, and they were to die for.  Did I mention that pecans are my favorite kind of nut?

Seventh, the filling can be anything from jam/jelly to frosting to whatever you want to use.  So the flavor combinations are limitless.

My first complete pecan macaron! I promptly ate it. :-) 
You can type "macaroni" into the YouTube search engine and find all kinds of instructional videos on how to make macarons, and there are all sorts of recipes online.  You really should give it a try when you have a couple of hours to experiment in the kitchen!

P.S.  Tomorrow I'm baking for my family Thanksgiving reunion.  Tamara Alexander and I are continuing our bake-off, so I can't wait to see what she has planned!

~~Angie


A little army of pecan macarons, ready for the freezer, intended for gift-giving. 

Tuesday, November 15, 2011

My First Macarons . . . and I hope they won't be my last. :-)

Who knew making French cookies could be so much fun?  Marie Antoinette loved macaroons, and so do a lot of Americans, as the little cookie sandwiches are rapidly gaining in popularity. Haven't you heard?  Cupcakes are now passé, replaced by whoopee pies and/or macarons.

The little cookies are famous for being light, gluten-free, and delicious. They consist of two shells that have "feet" and a thin, delicate crust covering a chewy inside.  They are a little labor-intensive, but I think they're worth the work . . . plus, they're fun to make.

My finished macarons. Aren't they cute?

The chief ingredients: almond flour, sugar, egg whites
First step: mix sugar and almond flour in a food processor; sift onto waxed paper. You want a SMOOTH shell.
Next, you make a meringue by your chosen method. Then you fold the flour mixture into the meringue; add any food color. 
Next, fill a pastry bag and pipe small circles onto a silicon sheet or parchment paper. I  used a template beneath my silicone sheet. :-) 
I tried to get them all the same size . . . 
After piping, you do the macaroni slam.  You slam the trays to the counter several times so the little air bubbles (see them?) come to the surface. Then you bake--see recipe for times.  
After baking, pull silicone sheets onto baking rack to cool.  I made a mistake here--I should have pulled one off to see if it came off easily. If it didn't, it needed more baking time.  
See the little "feet"--the rough edge--around the bottom of each shell?  Yea! They're supposed to look like that! 
Uh oh.  The brownish ones (we're looking at the bottoms) were done.  The "torn" ones weren't.  Needed a few more minutes in the oven, but at least they're not goopy. 
I decided to fill these with a vanilla buttercream. Chief ingredients?  Butter, egg whites, and the seeds from a vanilla bean. Cut in half lengthwise and scrape out all the teeny, tiny seeds. 
Pipe your favorite filling onto one shell, then sandwich together. Ta da! 


I was using the book LES PETITS MACARONS, by Kathryn Gordon and Anne E. McBride, but you can also find a section on macarons in MIETTE, another lovely new cookbook.  Different books prescribe different methods, but I like Gordon's and McBride's method as it seems a little more time-efficient.

A macaron consists of four main ingredients: almond flour, powdered sugar, regular sugar, and egg whites.  And the egg whites need to be "aged"--in other words, separate four of them three or four days before baking, keep them covered in the fridge, and set them out a couple of hours before you start the mixing so they can come to room temperature.  It's all about the meringue, and meringue, as you may know, can be tricky.

There is a basic macaron (what I made today), but macarons can be made in all sorts of flavors and colors, so they are truly beautiful little desserts.  And then there are the fillings--sweet or savory, in dozens of varieties.

I bought some macarons on eBay so I could know what I was aiming for, and though my first batch didn't come out picture-perfect (well, some of them did), they don't look half bad, either.

In any case, I know I'll be making these again.  I've just spotted a "popcorn pastry cream" filling that's made from real popped popcorn, and I can't wait to try it!

Spread some lovin' with your oven!

Angie


Monday, November 14, 2011

Macarons!


All right, baking friends, I am finally ready to jump in and take the challenge of making French macarons! No, not macaroons, but mah-kah-rons, said with a French accent, of course.

The best thing about these is that they are DELICIOUS! I ordered some off eBay just so I'd know what I'm trying to achieve. The second-best thing about these delicacies is that they are naturally gluten-free!

So in honor of my pal Terri Blackstock and others who need gluten-free foods in their diet, Tammy Alexander and I have decided to make our next bake-off round a gluten-free event! So pray for me as I attempt these wonderful goodies! My hubby and I are planning an open house next month, so I plan to bake lots of jewel-colored macaroons . . . if I don't eat them all first!

(40 Calories each, if you're interested.) :-)

~~Angie

Wednesday, November 9, 2011

Back to THE ART AND SOUL OF BAKING: PIZZA!

My, my--how did the Grand Baby get in here?
I haven't forgotten that I'm supposed to be baking my way through Sur la Table's book, THE ART AND SOUL OF BAKING.  It's just taken me some time to get around to the next dish because it's pizza!

This was really a simple recipe to make--the dough took an hour to rise, but it was no trouble to mix it up in the stand mixer and let it sit.  I let it rise in an oiled bread bucket, and it grew from one inch to four inches, so it was a lively loaf. :-)

I divided the dough and froze half for another day.  My friend Christal came over to help me bake, and half the dough was more than enough for two.

The pizza recipe. 


We had a good time trying to spin the dough around to get it nice and thin--we're not spinners, but we managed to get it spread out in the peel.  Then we spread it with pizza sauce (from a jar), turkey pepperoni, pineapple, and some shredded cheeses.  Then we slid it into the oven (takes practice to master the art of sliding a pizza from a peel onto a baking stone), and let it bake for about 16 minutes, or until it was nice and brown.

Kneading is done with a mixer. 


Semolina on a baking stone. Don't spread it too early. 


Note:  one thing I'd do differently.  You have to spread semolina flour on the baking stone so the pizza won't stick to it, and the book suggested that we preheat the oven to 500 an HOUR before baking.  So I did both--trouble was, the semolina on the  preheated baking stone burned, filling my house with the aroma of burning . . . something.  I was able to put on a pot hit and brush the brunt semolina off the hot stone, but still . . . next time, I'll sprinkle the stone with semolina right before we slide the pizza on.

Verdict?  Delicious and easy.  Definitely worth a repeat.  :-)


The pizza, she's a-baking. 


Christal displays our finished product. :-) 
~~Angie 

Tuesday, November 8, 2011

Book Club and Lace Doilies and the Baking Challenge, round III

My book club met last night, so I spent most of Monday afternoon making something special for them.  Usually I match the dessert to the book, but we had read UNBROKEN by Lauren Hillenbrand. It was an excellent book about an American POW, but I didn't want to serve the ladies rice balls and rat.  So I thought I'd try something I learned about at my pastry class.

Begin by creaming the butter and brown sugar. 
Lace doilies are made from a dough that's mostly brown sugar, butter, and a wee bit of bread flour.  Using a small ice cream scoop, you put a small lump (size of a ping pong ball) on a baking sheet. The lump will "melt" and spread out, then turn golden brown.  Now comes the hard part--before the doily cools and sets, but after a minute so it's not still goopy, you have to lift it off the baking sheet with cake lifters and mold it around a bowl or cup.  As the mixture cools, the shape will set, resulting in lovely little bowls . . . they remind me of waffle cone bowls, but they're more fragile.

Note:  as I worked with the hot doilies, my fingers were burning but I could hear my chef/teacher saying, "Get used to working with hot things!"  I wanted to reply that I make my living with my fingertips, but I doubt that argument would have meant anything to him, as he uses his hands for a living, too.  :-)
Spread FAR apart on baking sheet--they spread! 

Gather your molds. :-) 
My first couple of trays were disasters.  First, I waited too long, and the doily had already stiffened into a flat shape.  Then I didn't wait long enough to remove it from the pan, so the doily tore and became goopy when I tried to smush it together.  And I think I took my early trays out of the oven too soon--I took them out when they were golden, not golden brown.  Browner is better, I think.


Anyway, finally I began to get the hang of it.  First tried to mold around small bowls, but those resulted in wide containers and I didn't want to fill them with too much stuff.  So then I used a coffee mug with a slender base--that worked better.  In pastry class we used ordinary Styrofoam cups, and those had a lovely shape.


Right out of the oven. 


My sorry early efforts molded around a bowl. 


If a doily is too cool, it won't mold. It'll break. 


What a busy countertop! 


The rejects aren't wasted--they're broken up, frozen, and saved for
something like crunchy ice cream topping . . . 


The doilies destined to be bowls. 


A little chocolate in the bottom (I should have spread it better.) 


After working fast and furiously on the lace doilies (and about half of them ended up in the junk pile), I pulled a copper pot and copper bowl down from my pot rack (I still love it!) and melted a couple ounces of chocolate in the bowl held over boiling water.  When the chocolate was melted, I spooned about a tablespoon full in to the bottom of each "bowl"--in order to "seal" it and provide an extra bit of yumminess.  Chocolate always helps a dish.

Then I pulled a mousse mix from my pantry.  (Yes, you read right--if I spend hours on part of a dessert, I have no qualms about using a mix for another part.  :-)   )   I mixed up two types of mousse, then piped them into my doily bowls.  Finally, I made whipped cream from heavy cream and a little powdered sugar, then piped a final flourish on the top of the mousse.
Strawberry mousse, whipped cream, and some crunchies!


You can top these little treats with anything--fresh fruit would be nice--but I've been out of town and I didn't have any fruit.  So I crushed up my "reject" doilies and sprinkled the whipped cream with little bits of crunchy doily.  It looks pretty and tastes delicious!

I can't print the recipe, as I promised not to publish it, but you might try searching for it and see if you can find something similar.  I think I may just get better at this as time goes on . . .  Next time, maybe I'll fill them with chocolate mousse and toss a cherry on top. Or nuts. Or more chocolate.  :-)


Happy Baking!

P.S.  Tammy Alexander and I keep challenging each other to a bake-off, and she has a luscious recipe for a carmel cake on her blog.  I just might have to make that, too . . . 

Thursday, November 3, 2011

The Pot Rack

Yesterday I had to bake--some precious members of my family were without their favorite treats, which meant I simply had to whip up a batch of doggie biscuits.   :-)

While the biscuits were cooling in the oven (it takes hours to get them good and crunchy), I tackled a project that had more to do with hardware than with flours.

I may have mentioned that I've been in the process of switching out my regular pots and pans with copper pots and pans--my daughter has begun to cook, and what better thing to do than to give her my perfectly good pots and pans?  Plus, I'd noticed that some manufacturers of copper pots have been dumping their surplus in TJ Maxx and Marshalls and Homegoods, so in a couple of weeks I managed to get a decent set of decent copper cookware--not the terribly expensive stuff, mind you, but perfectly serviceable.  :-)   And copper cooks like a dream.

Anyway--once I collected and began to POLISH those copper pots (definitely high maintenance items), I thought it might be nice to display them.  This led me on a quest to find a perfect (and perfectly reasonable) pot rack--nothing fancy, just something that would match my kitchen and hang several pots.  Found a good one (I hoped) on Amazon.com, and it was only thirty bucks.  Can't beat that.

So I ordered it, and it finally arrived yesterday.   All by myself (cue the strains of that old Eric Carmen song), I took a thin nail and started hammering holes in my ceiling, trying to find a stud.  And I had a stud finder, but the thing kept lying to me.  BEEP BEEP BEEP BEEP, lights flashing, telling me there was a stud, so I'd hammer in the nail, then try to push it all the way in with the head of my hammer.  The nail went through every single time.

So after about fifteen tiny holes and no studs, I resorted to the old fashioned method--simply beating on the ceiling and listening for the spots that DIDN'T sound hollow.  Finally found two about sixteen inches apart, the width I needed, so I went for the heavy equipment--my drill.

Stood on the counter top with the drill in hand and sawdust raining down all over my counter, my cake keeper, and my cookbooks.  But then I screwed in two hooks that I'd spray painted black to match the existing light fixtures, and I was in business.

So I hung up some heavy pots and some not-so-heavy bowls and some light-as-air baskets, and I have to say I'm happy with the look.  No, the angle doesn't match the countertop, but I think I like it slightly askew.  Matches everything else in my life.  :-)  

So there you have it--my latest baking project.  My pot rack.

~~Angie 

Tuesday, November 1, 2011

I answered Tammy's challenge with a Tuxedo Cake! Yum!

It's a good thing I gave most of this cake away!
Tamara Alexander challenged me to a bake off!  First she posted a recipe for her creamy praline pie (oh, my!), and I answered with the Tuxedo Cake because I had company coming for dinner.  (And I also sent cake home with my guest, and gave half the cake to the family across the street.  This is a BIG cake, folks, and it's Texas-sized.  You can use either three nine inch pans or two 10-inch pans.  I opted for the ten inch because I don't have three nine-inchers.  :-/  

I found the recipe in THE PASTRY QUEEN cookbook (Rebecca Rather), and it was wonderful.  The cake was moist (probably because it contains butter AND oil), and the whipped cream frosting was a cinch to prepare with a stand mixer.  And the chocolate glaze--perfect!  Really easy directions; and the only time-consuming part was letting the cake sit in the fridge for an hour here, an hour there to firm up the frosting.
Mixing the flour, sugar, and cocoa. (The good stuff). 

So here are a few pictures, and I highly recommend the book THE PASTRY QUEEN.  It's amazing (like most things from Texas!)

Happy Baking!   And so . . . do you think I won the bake-off?  LOL.  Tammy, the gauntlet has been thrown down.  What are you bakin'?  :-)

Hugs!


Heating the oil, water, and butter. 

Cooling the two 10-inch cakes. They're BIG! 

After frosting with whipped cream and powdered sugar. 

After drizzling with chocolate glaze.  Drippy deliciousness.  :-) 
Angie