Tuesday, November 8, 2011

Book Club and Lace Doilies and the Baking Challenge, round III

My book club met last night, so I spent most of Monday afternoon making something special for them.  Usually I match the dessert to the book, but we had read UNBROKEN by Lauren Hillenbrand. It was an excellent book about an American POW, but I didn't want to serve the ladies rice balls and rat.  So I thought I'd try something I learned about at my pastry class.

Begin by creaming the butter and brown sugar. 
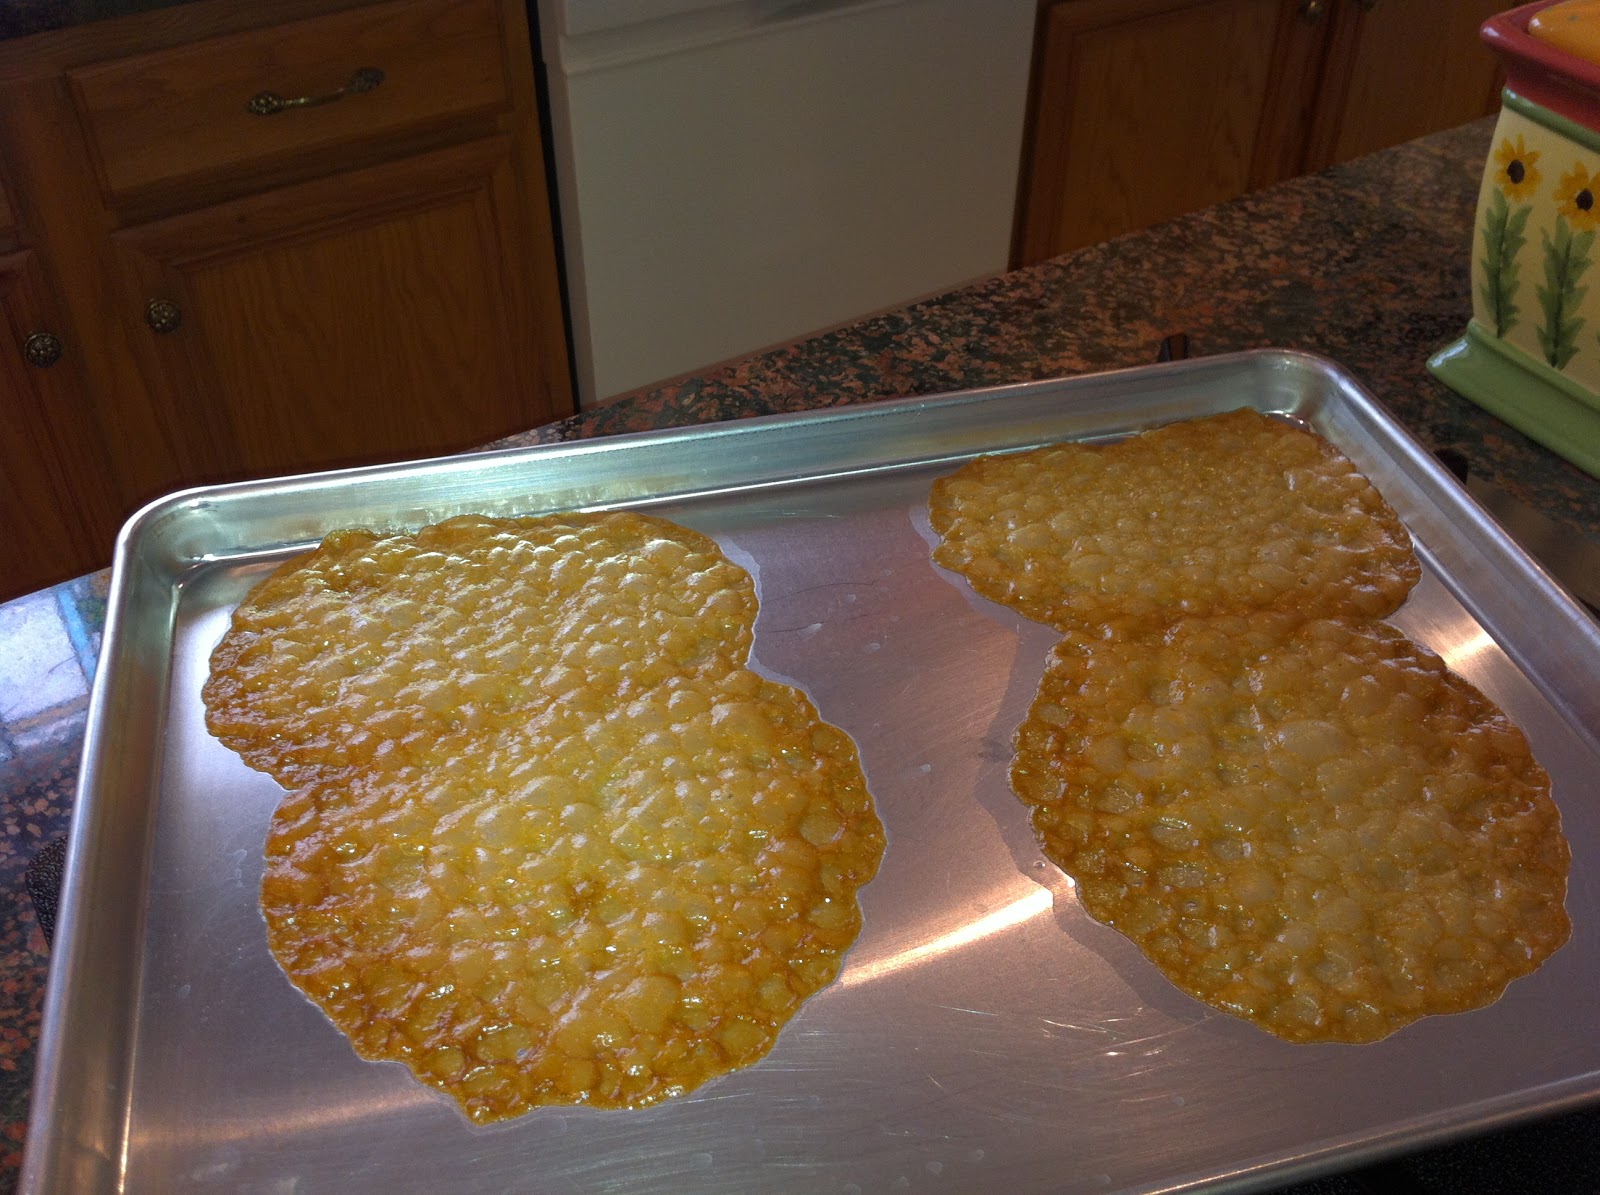
Lace doilies are made from a dough that's mostly brown sugar, butter, and a wee bit of bread flour.  Using a small ice cream scoop, you put a small lump (size of a ping pong ball) on a baking sheet. The lump will "melt" and spread out, then turn golden brown.  Now comes the hard part--before the doily cools and sets, but after a minute so it's not still goopy, you have to lift it off the baking sheet with cake lifters and mold it around a bowl or cup.  As the mixture cools, the shape will set, resulting in lovely little bowls . . . they remind me of waffle cone bowls, but they're more fragile.

Note:  as I worked with the hot doilies, my fingers were burning but I could hear my chef/teacher saying, "Get used to working with hot things!"  I wanted to reply that I make my living with my fingertips, but I doubt that argument would have meant anything to him, as he uses his hands for a living, too.  :-)
Spread FAR apart on baking sheet--they spread! 

Gather your molds. :-) 
My first couple of trays were disasters.  First, I waited too long, and the doily had already stiffened into a flat shape.  Then I didn't wait long enough to remove it from the pan, so the doily tore and became goopy when I tried to smush it together.  And I think I took my early trays out of the oven too soon--I took them out when they were golden, not golden brown.  Browner is better, I think.


Anyway, finally I began to get the hang of it.  First tried to mold around small bowls, but those resulted in wide containers and I didn't want to fill them with too much stuff.  So then I used a coffee mug with a slender base--that worked better.  In pastry class we used ordinary Styrofoam cups, and those had a lovely shape.


Right out of the oven. 


My sorry early efforts molded around a bowl. 


If a doily is too cool, it won't mold. It'll break. 


What a busy countertop! 


The rejects aren't wasted--they're broken up, frozen, and saved for
something like crunchy ice cream topping . . . 


The doilies destined to be bowls. 


A little chocolate in the bottom (I should have spread it better.) 


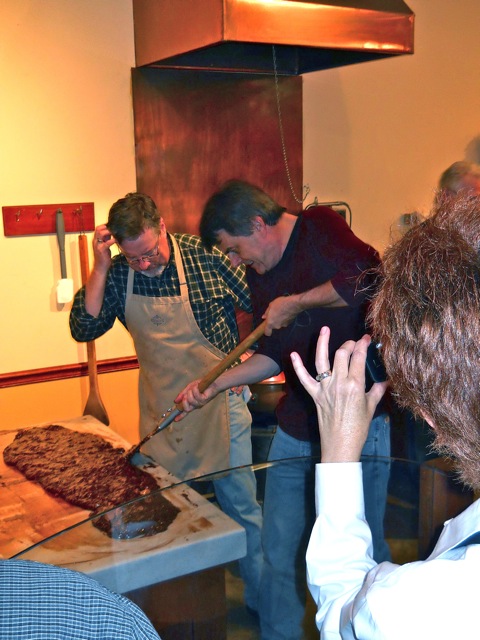
After working fast and furiously on the lace doilies (and about half of them ended up in the junk pile), I pulled a copper pot and copper bowl down from my pot rack (I still love it!) and melted a couple ounces of chocolate in the bowl held over boiling water.  When the chocolate was melted, I spooned about a tablespoon full in to the bottom of each "bowl"--in order to "seal" it and provide an extra bit of yumminess.  Chocolate always helps a dish.

Then I pulled a mousse mix from my pantry.  (Yes, you read right--if I spend hours on part of a dessert, I have no qualms about using a mix for another part.  :-)   )   I mixed up two types of mousse, then piped them into my doily bowls.  Finally, I made whipped cream from heavy cream and a little powdered sugar, then piped a final flourish on the top of the mousse.
Strawberry mousse, whipped cream, and some crunchies!


You can top these little treats with anything--fresh fruit would be nice--but I've been out of town and I didn't have any fruit.  So I crushed up my "reject" doilies and sprinkled the whipped cream with little bits of crunchy doily.  It looks pretty and tastes delicious!

I can't print the recipe, as I promised not to publish it, but you might try searching for it and see if you can find something similar.  I think I may just get better at this as time goes on . . .  Next time, maybe I'll fill them with chocolate mousse and toss a cherry on top. Or nuts. Or more chocolate.  :-)


Happy Baking!

P.S.  Tammy Alexander and I keep challenging each other to a bake-off, and she has a luscious recipe for a carmel cake on her blog.  I just might have to make that, too . . . 

Thursday, November 3, 2011

The Pot Rack

Yesterday I had to bake--some precious members of my family were without their favorite treats, which meant I simply had to whip up a batch of doggie biscuits.   :-)

While the biscuits were cooling in the oven (it takes hours to get them good and crunchy), I tackled a project that had more to do with hardware than with flours.

I may have mentioned that I've been in the process of switching out my regular pots and pans with copper pots and pans--my daughter has begun to cook, and what better thing to do than to give her my perfectly good pots and pans?  Plus, I'd noticed that some manufacturers of copper pots have been dumping their surplus in TJ Maxx and Marshalls and Homegoods, so in a couple of weeks I managed to get a decent set of decent copper cookware--not the terribly expensive stuff, mind you, but perfectly serviceable.  :-)   And copper cooks like a dream.

Anyway--once I collected and began to POLISH those copper pots (definitely high maintenance items), I thought it might be nice to display them.  This led me on a quest to find a perfect (and perfectly reasonable) pot rack--nothing fancy, just something that would match my kitchen and hang several pots.  Found a good one (I hoped) on Amazon.com, and it was only thirty bucks.  Can't beat that.

So I ordered it, and it finally arrived yesterday.   All by myself (cue the strains of that old Eric Carmen song), I took a thin nail and started hammering holes in my ceiling, trying to find a stud.  And I had a stud finder, but the thing kept lying to me.  BEEP BEEP BEEP BEEP, lights flashing, telling me there was a stud, so I'd hammer in the nail, then try to push it all the way in with the head of my hammer.  The nail went through every single time.

So after about fifteen tiny holes and no studs, I resorted to the old fashioned method--simply beating on the ceiling and listening for the spots that DIDN'T sound hollow.  Finally found two about sixteen inches apart, the width I needed, so I went for the heavy equipment--my drill.

Stood on the counter top with the drill in hand and sawdust raining down all over my counter, my cake keeper, and my cookbooks.  But then I screwed in two hooks that I'd spray painted black to match the existing light fixtures, and I was in business.

So I hung up some heavy pots and some not-so-heavy bowls and some light-as-air baskets, and I have to say I'm happy with the look.  No, the angle doesn't match the countertop, but I think I like it slightly askew.  Matches everything else in my life.  :-)  

So there you have it--my latest baking project.  My pot rack.

~~Angie 

Tuesday, November 1, 2011

I answered Tammy's challenge with a Tuxedo Cake! Yum!

It's a good thing I gave most of this cake away!
Tamara Alexander challenged me to a bake off!  First she posted a recipe for her creamy praline pie (oh, my!), and I answered with the Tuxedo Cake because I had company coming for dinner.  (And I also sent cake home with my guest, and gave half the cake to the family across the street.  This is a BIG cake, folks, and it's Texas-sized.  You can use either three nine inch pans or two 10-inch pans.  I opted for the ten inch because I don't have three nine-inchers.  :-/  

I found the recipe in THE PASTRY QUEEN cookbook (Rebecca Rather), and it was wonderful.  The cake was moist (probably because it contains butter AND oil), and the whipped cream frosting was a cinch to prepare with a stand mixer.  And the chocolate glaze--perfect!  Really easy directions; and the only time-consuming part was letting the cake sit in the fridge for an hour here, an hour there to firm up the frosting.
Mixing the flour, sugar, and cocoa. (The good stuff). 

So here are a few pictures, and I highly recommend the book THE PASTRY QUEEN.  It's amazing (like most things from Texas!)

Happy Baking!   And so . . . do you think I won the bake-off?  LOL.  Tammy, the gauntlet has been thrown down.  What are you bakin'?  :-)

Hugs!


Heating the oil, water, and butter. 

Cooling the two 10-inch cakes. They're BIG! 

After frosting with whipped cream and powdered sugar. 

After drizzling with chocolate glaze.  Drippy deliciousness.  :-) 
Angie

Tuesday, October 25, 2011

How to Frost a Miette hot milk cake

The cupcakes
Well--I've never made buttercream frosting the European way--which is to melt sugar and whip it into meringue--but it wasn't nearly as hard as I thought it might be.  It takes a while, because the hot melted sugar tends to freak out the egg whites, but with a stand mixer it DOES eventually whip up stiff and slick and shiny.

Only problems I encountered were:  the cakes were underdone in the center--both of them.  And I forgot to spread on the lemon syrup I had so painstakingly made.  Sigh.  Wonder if I can drizzle it on the slices of cake after I cut them?

I had doubled the cake recipe, but only made the frosting as called for, and I still had frosting left over to store in the freezer.  And when handed cakes with an underdone center, you cut it out and create mini-bundt cakes.  :-)

As you can see from the book photos, these cakes are filled with lemon curd between the layers, along with the frosting--yum.  Then I simply piped on some tiny flowers, sprinkled with sparkling sugar, and I consider myself done.

Now, off to make paella for dinner tonight.  Talk about throwing everything into a pan!  My recipe calls for chicken, clams, lobster, sausage, and saffon--and I had no luck finding saffron at the grocery yesterday.  Guess we'll have to do without.  :-)


This cake is only missing the center on the bottom layer. (See why I don't do this professionally?) 

Ta da!  Mini-bundt cake. :-) 
~~Angie

Monday, October 24, 2011

The Hot Milk Cake from MIETTE

With company coming for dinner tomorrow, I decided to make a new cake tonight.  I opened my Miette cookbook--a beautiful book with lots of errors, but a corrected edition is coming out soon--and trusted that this cake would be error free.  And it almost was.

Six inch cake pans are small. 

The hot milk and butter must remain thoroughly mixed. 

The eggs, sugar, and vanilla are melted and mixed in a double boiler. 

The moment I touched this in the oven, I had a feeling it was under done. But the tester came out clean--should have trusted my gut instinct. 

This is what it should look like. One out of two isn't bad. :-) 
The first thing you have to know about Miette cakes is that they are small--they bake in two six inch pans, and each cake only requires one pan (you're supposed to freeze the other one for later).


I sifted together the required flour, baking powder, and salt, then mixed the whole milk and butter on the stove.  This mix must cool to 80-85 degrees before it can be added to the batter, so I quickly realized I had to take it out of the copper pot, as copper retains heat very well.  :-)


The eggs, sugar, and vanilla must be heated in a double boiler to 110 degrees for the sugar to melt--again, a thermometer is indispensable for this recipe.  Then it is whipped on high with a stand mixer, and goes from a yellow mix to a white, fluffy mix.  Then you stir in the dry ingredients, and finally you pour in the cooled hot milk.


I doubled the recipe, thinking I'd like to make some cupcakes, and they turned out very well.  But when I went to remove the golden cakes from the oven, the first cake jiggled--and I should have left it alone.  I did take it out and stab it with a tester, which came out clean, but a toothpick didn't' fare so well.  I returned it to the oven, but apparently the damage was done.


Tomorrow we'll see how I do at decorating the cake that didn't collapse in the middle.  :-)  BTW, the cupcakes are lovely--golden and crunchy on top, not-too-sweet interior. With a little frosting, they'd be perfect.  :-)

More tomorrow!

~~Angie

BTW--A manufacturer has dumped a load of copper pots and pans at Marshalls, Home Good, and TJ Maxx.  I've always wanted a set and have been stocking up at bargain prices--I love them, though they are a bit on the fragile side.  Easy to scratch, easy to tarnish, and they don't go into the dishwasher.  But boy, do they cook.  :-)  

Monday, October 17, 2011

It's Fudgalicious up here!

Bill Myers tries his hand with the paddle.
So I'm up here teaching at the Blue Ridge Novelists' Retreat, a small workshop that's very intimate.  While   Jeff Gerke did thin-skinned critiques tonight, some of us went to Black Mountain and discovered Kilwin's Chocolates and Ice Cream shop.  (Lynette Eason had a hankering for ice cream).

The owner, Tom, was making fudge, and was very generous with his time as five of us gathered around to watch and pepper him with questions--after all, who knew when we'd need to know how to make fudge for a book?  So we learned about the importance of temperature, the marble slab, the metal paddle, the copper cooking pot, etc.  And then Tom generously supplied us with samples of pumpkin fudge (oh, my!) and Turtle fudge--chocolate and carmel and nuts--oh, my!

We really had a nice time--I think I could happily live in a chocolate shop. The aroma alone would make me happy.  :-)  

So here are some pictures of our evening out.  And if you're ever in Black Mountain, now you know where to go:  Kilwin's Chocolates and Ice Cream.  You'll be glad you stopped in.


I'm sure Tom gets a good workout handling all that fudge! It's heavy with good stuff! 
~~Angie 

Thursday, October 6, 2011

How to Bake a Sour Cream Streusel Cake

I can never spell "streusel" correctly.  Thank heaven for spell check.

Wednesday morning I was running around like the proverbial headless chicken.  I slept late because I'm still feeling the effects of a cold I picked up in Michigan (those chilly breezes gave me the sneezes!), and because I'm selling some stuff on ebay and had to put some packages together.

Furthermore, hubby and I are leaving for another trip tomorrow, so I need to shift into packing gear soon.  But other things to do first--some shopping (copper cookware on sale at TUESDAY MORNING!), some accounting, some vacuuming, and some work.

Mix into light and fluffy batter
Anyway--one of my dear book club ladies brought me fresh eggs from her girls--Rhode Island Reds--and I simply had to use them before I left town.  So I found a recipe in THE ART AND SOUL OF BAKING that called for four eggs: Sour Cream Streusel Cake. Trouble was, my sour cream was a month out of date and there wasn't enough of it, so I had to go to the grocery.

Sprinkle top with streusel mix
Anyway, the recipe is pretty straightforward, so I won't go through all the steps here.  I will mention, however, that since I've gotten serious about baking, I've begun to weigh my ingredients instead of measuring them--greater accuracy, you see.  And I've also learned that two cups of sugar is NOT sixteen ounces, but fourteen.  Solid weights differ from liquid weights, and a cup of flour or sugar is only seven ounces.  (I don't make up these rules, I just accept them. One day I will have a conference with the Master of the Universe and ask why a batter can hit the ball and not get a hit, but until then I'll just dip my head in a sagacious nod. )

So you cream the sugar and butter, and then add the raw eggs by tablespoonful.  Why?  Because if you dump them all in at once, the batter will lose that lovely light consistency and "break" into a gelatinous mess.  You can get it to whip up again, but "breaking" is considered a bad thing.  If someone can explain this to me, I'm willing to listen.

Anyway, I mixed in the eggs and vanilla, then alternated mixing the flour and sour cream.  Then you spread half the batter in a tube pan, sprinkle with streusel, and then top with the remaining batter and more streusel.  The concoction is baking now, so I'll let you know how it comes out.

In the mean time, I have to finish a proposal (don't worry, fearless agent, it's coming) and put together a blog piece on the end of baseball season.  Sniff.  Sort of sad to say farewell to the boys of summer.  But there's always next year.

OH--why am I baking a coffee cake when I'm heading out of town?  Because I'm heading to see the Grand Baby, and I thought it'd be nice to take a cake for my daughter.  :-)  Nanas should never arrive empty handed.  :-)

And ta da!  The cake is done.  I turned it upside down, thinking the underside was more attractive that the streusel-bumpy top, but you can do whatever you like.  And maybe I'll dust with powdered sugar before serving.  But it's all ready to go visiting, and in a bakery box, no less!

Happy baking!

~~Angie